Building a Musikding Germanium Treblebooster Guitar Pedal Kit
The Range - Germanium Treblebooster kit from Musikding is based on the famous Dallas Rangemaster Treble Booster. The Rangemaster was used by many great guitar players including; Rory Gallagher & Brian May, to create a driving lead tone.
The base kit can be purchased without a pedal enclosure and knobs, however they provide an option to purchase a blank or pre-drilled 125B enclosure, and they also stock a wide variety of knobs. I opted for a pre-drilled enclosure and a black fluted yellow center bakelite knob.
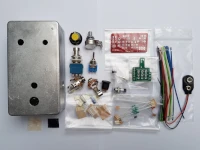
The build documents are available on their website, these include: Installation guide, Schematic, Wiring layout & Parts list.
Preparing the Enclosure
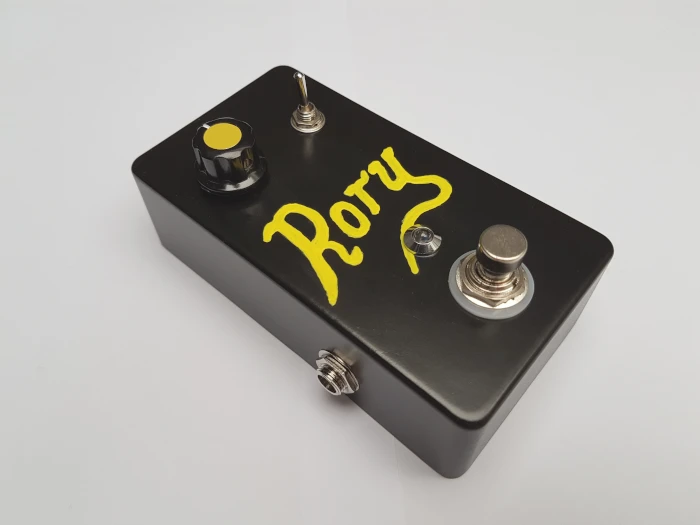
I sprayed the enclosure with several coats of matt black paint. In a tribute to one of my favourite guitarists; Rory Gallagher, I named the pedal "Rory", using some yellow acrylic paint.

Assembling the PCB
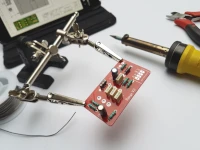
While the paint was drying on the enclosure I got on with soldering the components to the main PCB. The PCB is quite small but there aren't many components so it's relatively easy to assemble. The volume potentiometer and toggle switch are also mounted on the main PCB.
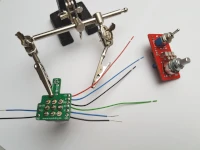
The footswitch has a separate PCB which keeps the wiring tidy, the LED is also connected to this board when it is mounted.
Assembling the Pedal
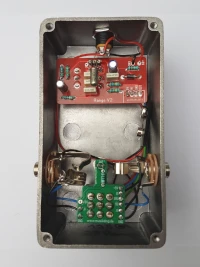
The LED (& bezel) must be fitted before the footswitch, making it quite fiddly to get the LED pins through the holes on the underside of footswitch PCB, it's like shooting in the dark so this takes some patience.
Refer to the schematic document to find the correct position for the transistor socket for your transistor type. The germanium transistor is quite tall when installed in the socket, is has to be bent over to allow the base plate of the enclosure to fit into place.
I generally power my pedals using the DC power jack but there is plenty of room in the enclosure for a 9v battery.
Time to play
Currently, I don't have a guitar with single-coil pickups so I can't demonstrate that famous single coil tone. However, here are some recorded samples using my Gretsch on the bridge pickup (Filter'Tron), straight into the pedal, through an audio interface and into a computer.
The toggle switch on the pedal changes how the signal flows through the three input capacitors, changing the shape of the tone. The lower the capacitance, the more bass and mid tones are filtered from the signal.
Down Position
3.3nF + 2.2nF capacitors: this position is the closest to the 5nF capacitor in the original Rangemaster.
Middle Position
3.3nF capacitor: the lower capacitance in this position removes more of the mids, resulting in an intense treble tone.
Up Position
3.3nF + 6.8nF capacitors: this position widens the range, keeping more mids, but still with plenty of treble. This is the best option when you're playing without a bass player and drummer.
The End Result
The kit is of good quality and it's easy to assemble. The end result is a really nice pedal which compliments the others on my pedalboard. The tone is quite clean when the guitar volume is below 95%, but it can be thickened up by stacking another drive pedal after it. Now I just need to buy a beaten up strat!
To get a better understanding of how this circuit works, see: