Building a Musikding Germanium Fuzz Guitar Pedal Kit
The The Factory - germanium fuzz kit from Musikding is based on the Fuzz Factory boutique guitar pedal circuit. With five controls, this is an interesting effect pedal which can produce a wide variety of fuzz tones.
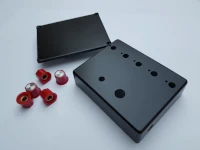
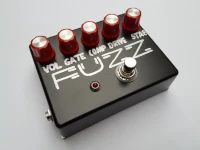
The base kit can be purchased without a pedal enclosure and knobs, however they provide an option to purchase a blank or pre-drilled BB enclosure, and they also stock a wide variety of knobs. I opted for a pre-drilled enclosure and five red fluted silver center bakelite knobs.
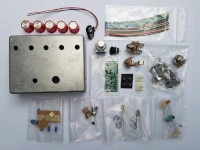
The build documents are available on their website, these include: Installation guide, Schematic, Wiring layout & Parts list.
Preparing the Enclosure
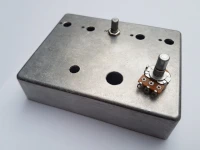
The potentiometers have a tab protruding from their base, to prevent the base from spinning when they're in use, however there were no matching slots in the enclosure. The instructions suggest snapping the tabs off with pliers as they probably aren't needed if the nut is tightened sufficiently. However, I prefer to do things right so I drilled an additional small hole for the tab beside each existing hole. These smaller holes are not visible when the knobs are installed.
The enclosure was then sprayed with several coats of matt black paint.
Assembling the PCB
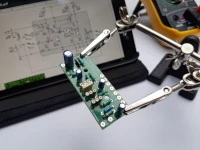
While the paint was drying on the enclosure I got on with soldering the components to the PCB. The PCB is quite small but since there aren't that many parts it's relatively easy to assemble.
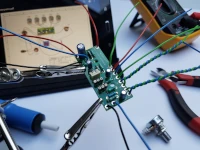
Assembling the Pedal
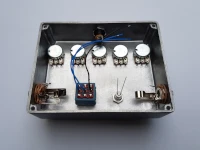
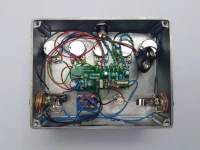
Even with the five controls, there is plenty of room in the BB enclosure to do the off-board wiring with the potentiometers, jacks etc, installed in the enclosure. This step takes a bit of time, and some care is needed to follow the wiring diagram and ensure that everything is connected correctly.
The germanium transistors are quite tall when installed in their sockets, they have to be bent over to allow the base plate of the enclosure to fit into place.
The screws holes for the base were not threaded, so it requires a bit of effort to get the self-tapping screws in for the first time. Once the base was in place, the knobs were fitted.
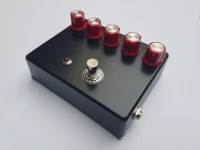
The last step was to add some labeling using a silver acrylic paint marker.
Time to play
Thankfully the pedal worked straight away when it was plugged in!
Anyone who has experienced this pedal circuit knows that the controls are a little unusual. They aren't all distinct controls with linear behaviour, combinations of some affect others in unusual ways, often resulting in squealing oscillation. To get started, it's helpful to check out the settings guides that others have posted (here, here & here). After spending some time experimenting with the controls you can get a great variety of tones out of this pedal.
Here are some samples (o'clock settings) recorded using the bridge pickup (Gretsch Filter'Tron), straight into the pedal, into an audio interface and into a computer. I would normally use an overdrive and octave pedals with a fuzz but kept these samples to the single pedal to demonstrate it on it's own.
Light Fuzz
At moderate guitar volume, these settings create a light jangly fuzz tone:
| Gate | Comp | Drive | Stab |
|---|---|---|---|
| 02:00 | 09:00 | 09:00 | 11:00 |
Warm Heavy Fuzz
A slight adjustment to the previous setting and an increase in guitar volume results in a warmer heavier fuzz:
| Gate | Comp | Drive | Stab |
|---|---|---|---|
| 03:00 | 09:00 | 09:00 | 09:00 |
Velcro Fuzz
These settings create a compressed velcro fuzz (not that usable really!):
| Gate | Comp | Drive | Stab |
|---|---|---|---|
| 04:00 | 03:00 | 07:00 | 09:00 |
Varying the Guitar Volume
This sample demonstrates how the pedal reacts to changes in guitar volume, it's quite clean at lower volumes and transitions into an intense fuzz at higher volumes:
| Gate | Comp | Drive | Stab |
|---|---|---|---|
| 03:00 | 11:00 | 12:00 | 05:00 |
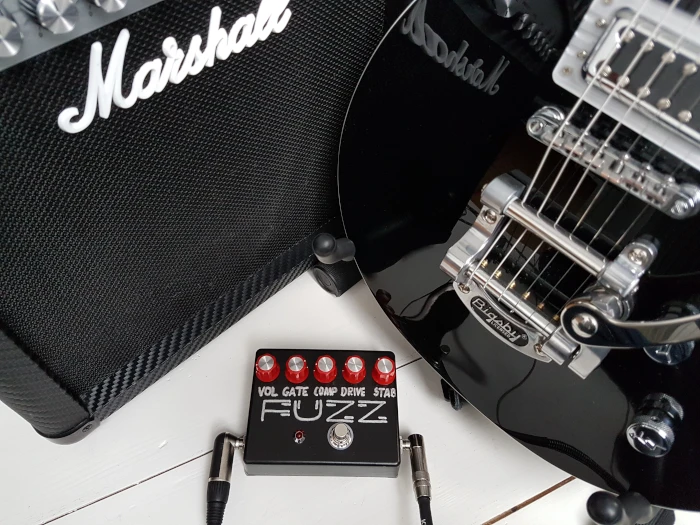
Overall the build was straight forward, and it's a lot of fun to play with, now I need to find a way to squeeze this pedal onto my pedal board!
To get a better understanding of how this circuit works, see: